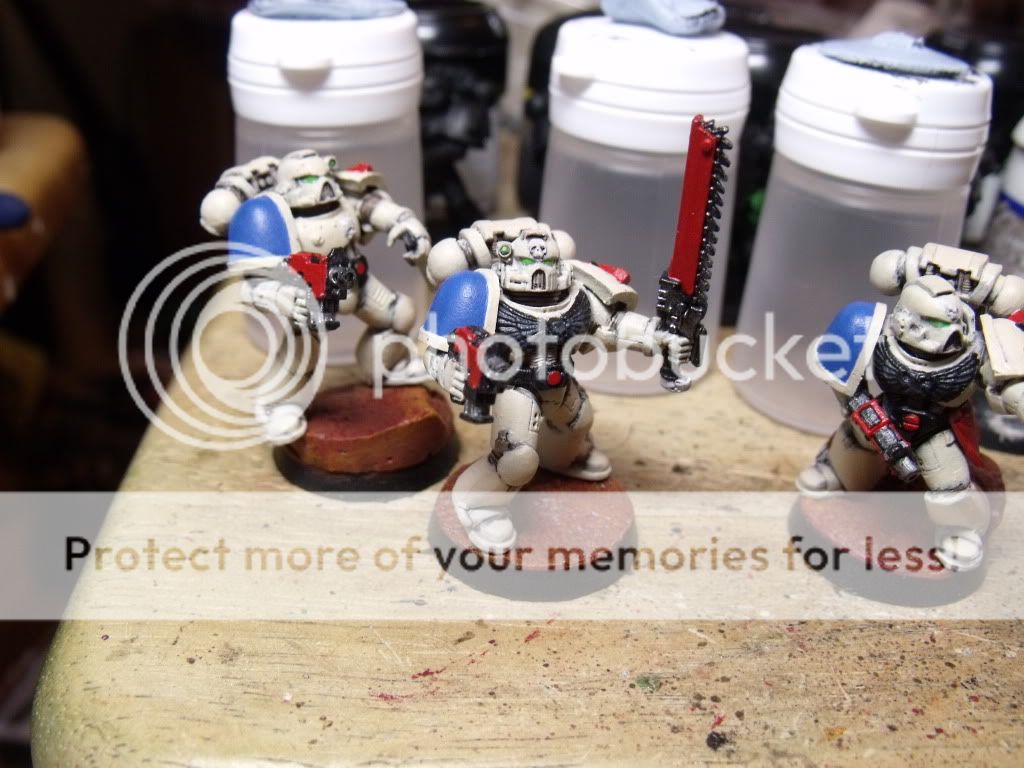
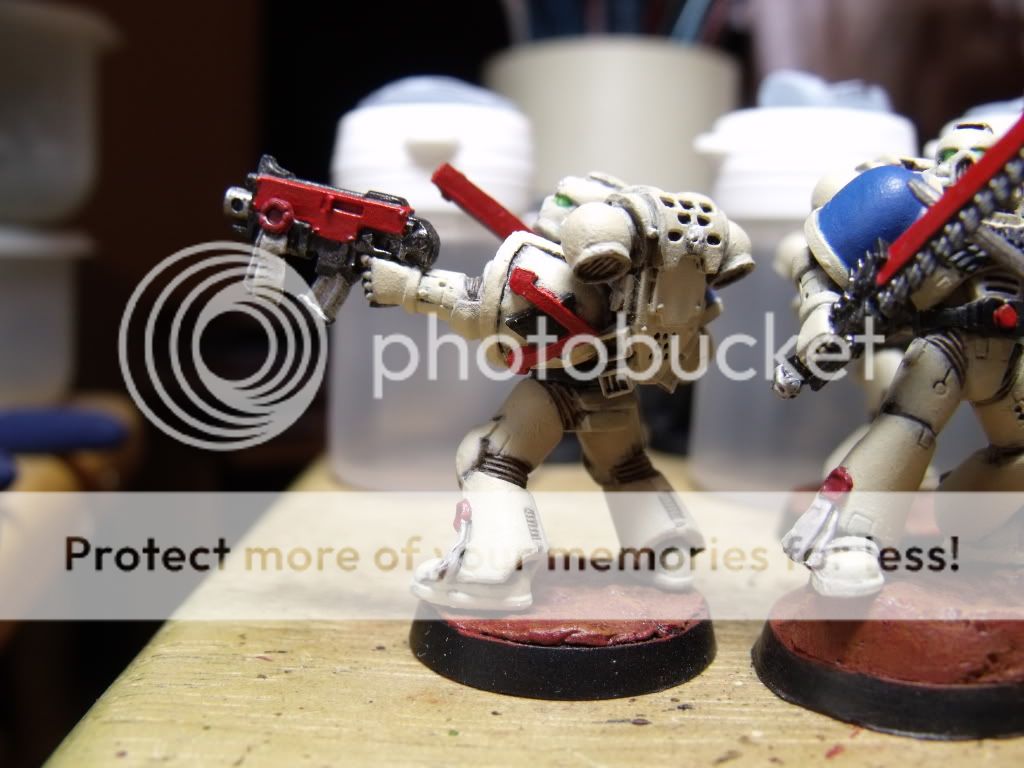
This year for summer conflict I decided to give my WiP space wolves a shot. It was only 1500 points but thankfully that's all I had built.
Rune Priest - Living Lightning, Jaws, Melta bombs
(Rune Priest's Squad)
8 Grey Hunters - Banner, Wulfen, Melta Gun
Wolf Guard - Combi-Melta, Power Fist
Drop Pod
9 Grey Hunters - Banner, Wulfen, Melta Gun
Wolf Guard - Combi-Melta, Power Fist
Drop Pod
9 Grey Hunters - Banner, Wulfen, Melta Gun
Wolf Guard - Combi-Melta, Power Fist
Drop Pod
10 Grey Hunters - Banner, Wulfen, 2 Melta Gun, Power Fist
Drop Pod
10 Grey Hunters - Banner, Wulfen, 2 Plasma Gun, Power Fist
Drop Pod
2 Wolf Guard - Combi-Melta
1 Wolf Guard - Combi-Melta, Power Fist
1 Wolf Guard - Combi-Melta, Wolf Claw
1 Wolf Guard - Wulfen
Drop Pod
Game 1 - Size Ground, Spear Head (5 objectives)
Chaos List
Demon Prince - Wings, MoS, Lash
10 Chaos Marines - MoS, Melta Gun, Flamer, Power Fist
Rino - Havok Launcher
10 Bezerkers - Power Fist
Rino - Havok Launcher
2 Plague Marines - 2 Plasma Guns
Chaos Marines - Missile Launcher
Defiler
2 Oblits
Predetor - Auto Cannon, Heavy bolters, Havok Launcher
This was looking a bit tricky unlike my old list this one would be at serious risk from the lash.
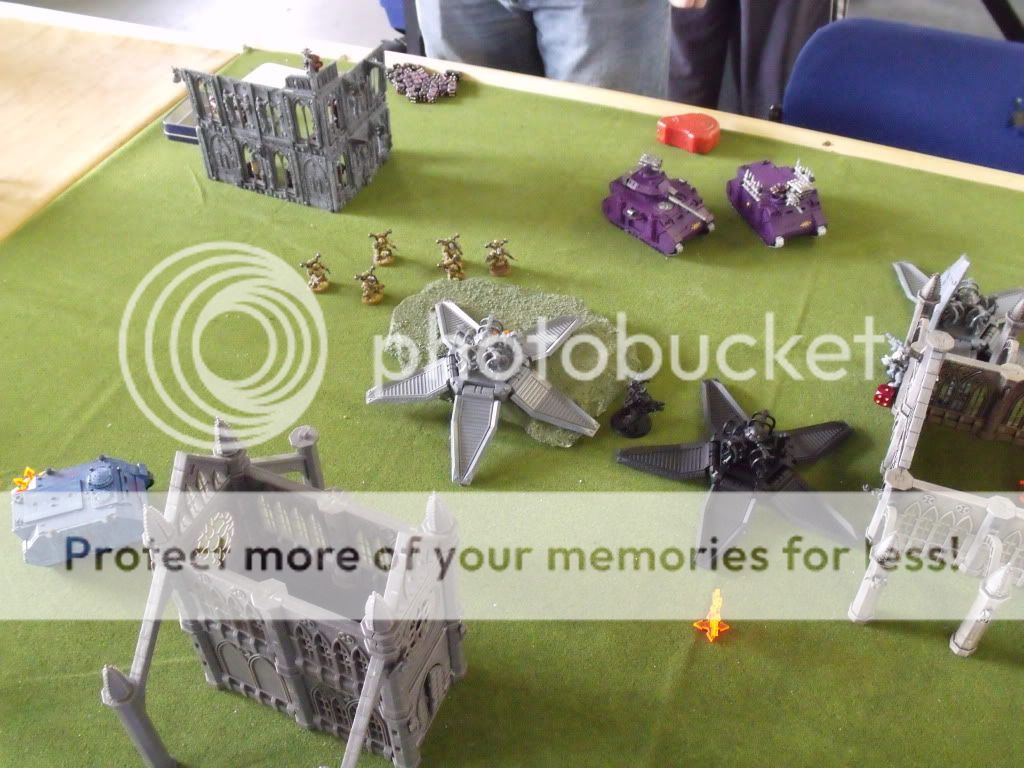
Turn 1
Chaos go first and move out The Bezerkers moving to the bottom objective, the Noise marines going for the one in the center.
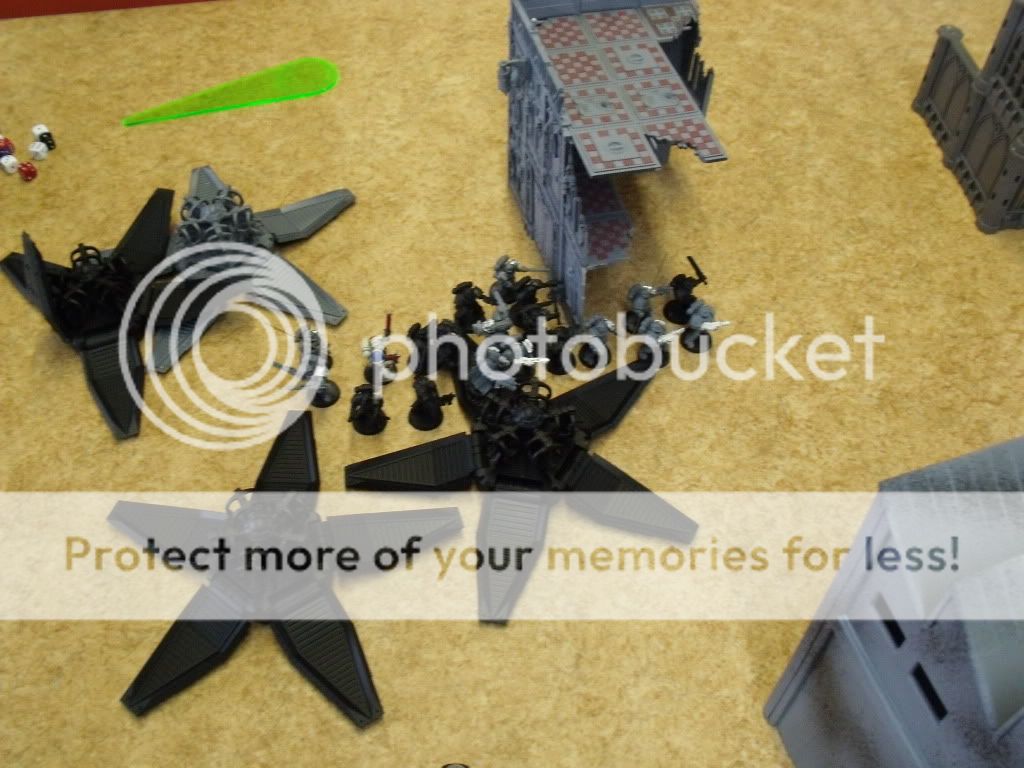
Fortune favours the brake and I didn't want to have to dig the chaos out that middle chunk of terrain so I dropped down to cut them off and try and crush that advance.
The rune priests squad and one of the squads with wolf guard, and the 5 man wolf guard squad dropped in an blew the demon prince and the defiler off the table.
Turn 2
I was feeling pretty good after that turn, that didn't last long. To paraphrase Admiral Beatty "There appears to be something wrong with out bloody power armour today" this was a start of a trend all weekend for me, though not drastically bad my power armour saves felt a bit low. In this case the rune priests squad took a pounding off havok missile launchers.
Then the noise marines charged into one of my grey hunter squads, that's to there +1I and my luck with the power armour the squad got mauled. In my turn none of my reserve showed up but the rune priests squad managed to get into the fight and take out the noise marines. The last wolf guard took out one of the oblits.
After this point I dug in near the central 2 objectives , the plasma gun squad dropped on the hill in the middle and shout up some of the plague marines the other melta squad dropped next to the bezerker. They took the charge off the bezerkers and where taken out out.
By the end I had two objectives and my opponent had one, with my drop pods covering the hill contesting the other one.
Game 2 - Capture and Control, Dawn of war
Tyranid List
Tyranid Prime - 2 Scything Talons
Tyranid Prime - 2 Scything Talons
2 Zone Thropes
Doom of Mytan
Drop pod
20 Genestealers - Brood Lord
20 Genestealers - Brood Lord
20 Hormagaunts
5 Ripper Swarms
3 Ripper Swarms - Adrenal Glands
Carnifex - scything Talons, Crushing Claws
Was feeling ok about this match up. The doom could prove to be very effective against my army but I would just have to take him on the chin. the rest of his army I had the tools to deal with.
I deployed my objective in a wood, my opponent put his on top of a building on the right hand corner.
He then deployed a unit of genestealers in the building in the middle of the table near my objective with the prime tucked in behind and the hormagaunts onto his objective.
Turn 1
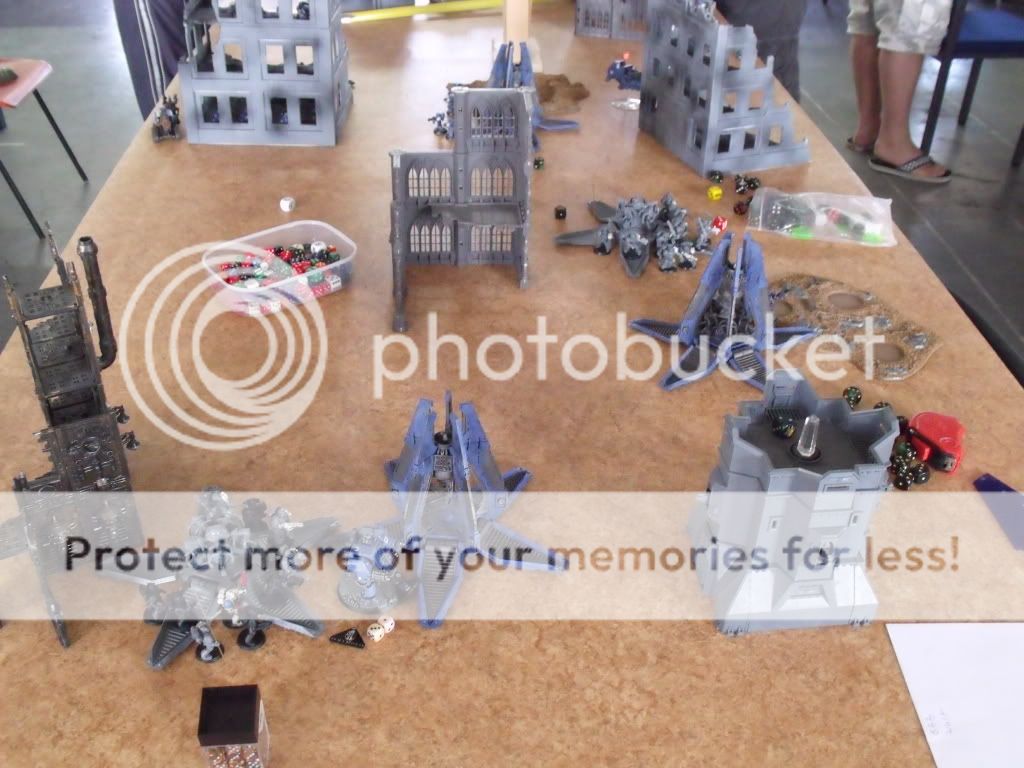
Most of his army walks on with one unit of stealers left in reserve to outflank. I drop in but have a bit of bad scatter the rune priests squad comes on behind my objective, one squad next to his and the last squad in from of his advancing units. My shooting doesn't achieve a great deal.
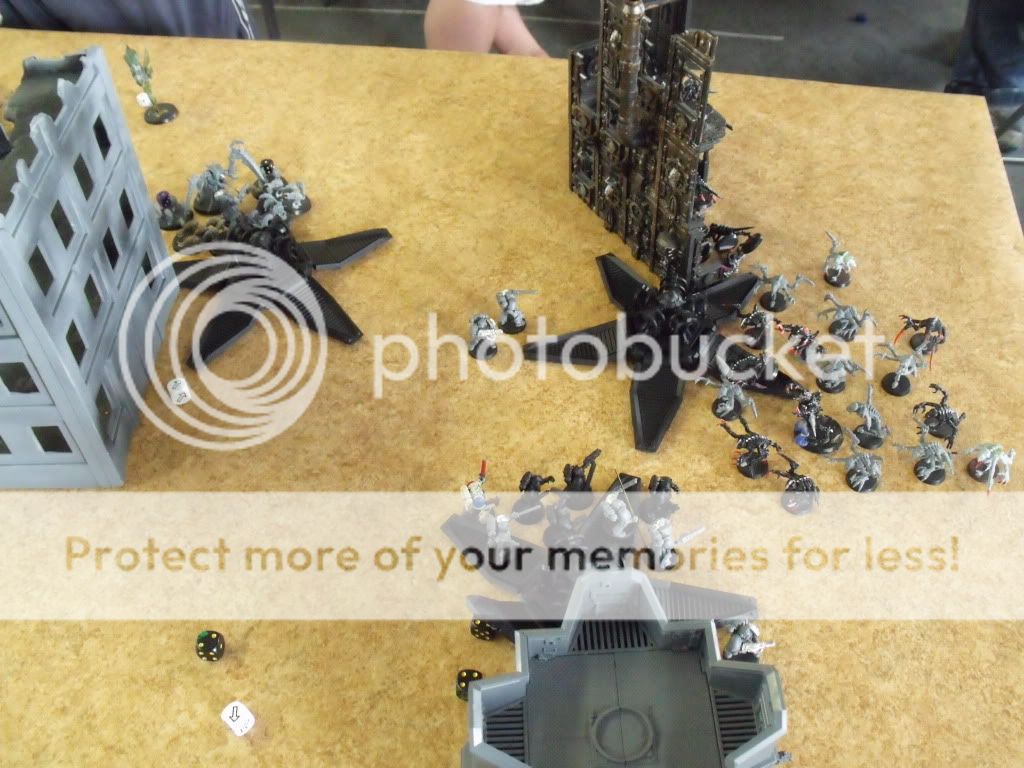
Turn 2
This doesn't go particularly well for me, the outflanking stealer squad arrives on and charges my squad that's next to my objective promptly doing a stupid amount of rending hits, it was only wound allocation that saved the squad from being wiped out. The squad that scattered in front of his army got charged by the rippers and one of the prime. 7 wounds off the rippers results in 5 dead marines, again with the not great.
Turn 3
The stealers on the right finished off my squads, the last 2 remaining members just managing to escape. the squad in the middle was ground down till they had only one member left. T
he other group of stealers started making a move to my objective. Thankfully all three reserve squads came in.
I decided the key thing was to preserve my objective so I dropped in two squads there bracketing the stealer squad that was in the open. The third squad I dropped in the right looking to lay some righteous bolter fire on the stealer squad there.
The stealer squad in the middle was gutted by the bolter fire then promptly broke and headed towards it's table edge, the squad on the right fared better and only lost a few members.
The rune priest managing to jaws the carnifex
Turn 4
The doom lands right in the middle of my tree squads that where near my objective thankfully I only lost 6 guys from one squad everyone else managed to pass their leader ship. one squad took a charge off the rippers and one of the primes but managed to kill them going on to bolter the other prime to death leaving him with only a zonethrope for synapse. on the right the stealer squad charged my full grey hunter squad and started kicking their teeth in again.
After this the last zone throap bought it and the hormagaunts jumped off his objective and started hitting on of the drop pods, alas the last few stealers on the right managed to get the six they needed to get on to the objective to claim in and get a draw.
Game 3 - Pitch battle, Annihilation
Blood Angel List
Dante
Sanguinary Priest -Jump Pack
5 Sanguinary Guard
5 Sanguinary Guard
5 Terminators - TH/SS
Land Raider Redeemer - Multi melta, Extra Armour
Librarian Dreadnought - Blood Talons
Vindicator
8 kill points to my 13, and lots of things that love power armour in the open.
This was a very short and brutal game, not much in the way of tactics just a straight up fight.

First turn the BA's moved forward and I dropped right in the middle taking out the dreadnought and the the vindicator cannon, for some silly reason I didn't go for the redeemer and in started mauling my squads. On turn 2 the two units of guards came down. Between the redeemer and one of the units they finished off a unit of my great hunters. After that we just traded units I took out one of the guard units and the vindicator Dante's unit took out one of mine only to get shot up next turn. The redeemer killed a lot more guys before I finally managed to stop it and bolter the terminators to death.
In the end I did managed to table my opponent but I didn't have a lot left.
Game 4 - Capture and Control, Spearhead
Ultramarine's List
Calgar!
Techmarine - Thunderfire Cannon
5 Sternguard - 2 Combi-Melta, Lightning claw
Drop Pod
Dreadnought - Assault Cannon
Drop Pod
Tactical Squad - Multi Melta, Flamer
Drop Pod
Tactical Sqaud - Las Cannon, Plasma Gun
Devastator Squad - 3 Heavy Bolters, 1 Plasma Cannon
Scout Squad - Sniper Rifles, Missile Launcher, Telion
Land Speeder - Multi Melta
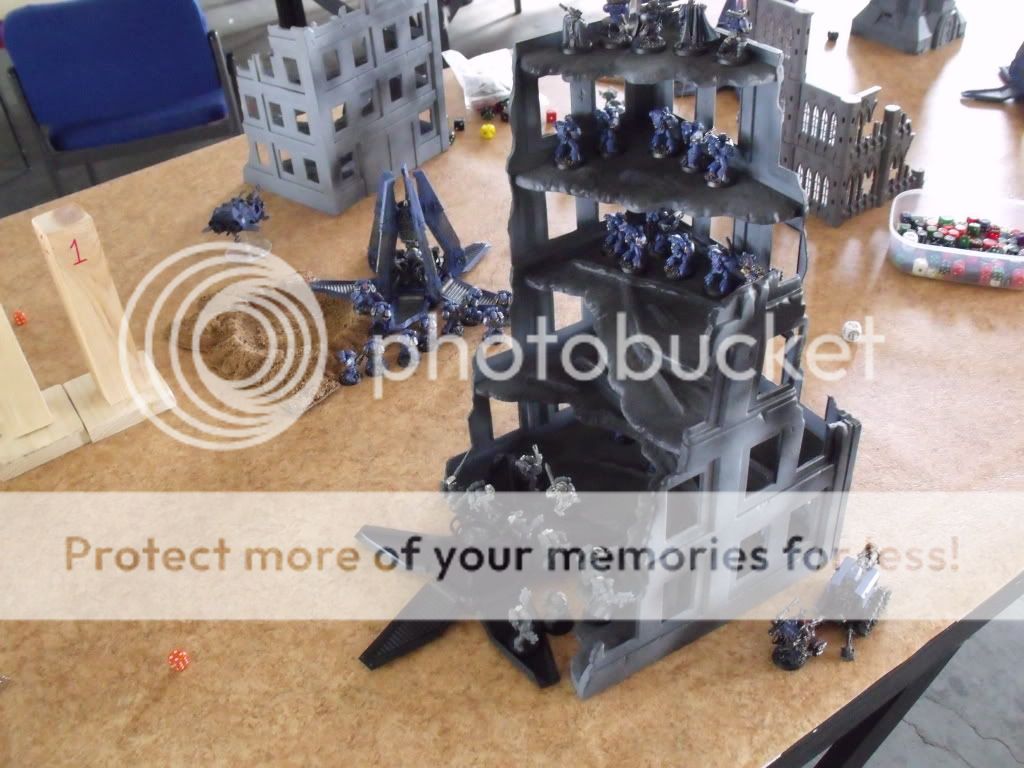
His objective when on the top floor of a four story building that the tech priest reinforced, this was a daunting challenge, every floor have marines on it and thanks to Calgar they wouldn't be breaking.
His stern guard and dread drop near my objective, I counter drop and disabled the dreadnought and kill a couple of sternguard. the last squad drops on to the ground floor of the objective.
My squad that shot up the dreadnought got mauled by return fire, his tac squad dropped in near his objective, my rune priest squads took out the devastator squad in close combat. The sternguard squad was finished off by my grey hunters.
The wolf guard squad scattered in front of the tac squad though they opened up they didn't do much to them and after a bit of mutual spanking got taken out.
The rune priests squad moved up the building and engaged calgars squad but got got ground down. another squad deep struck in the bottom, took out the thunderfire got charge by 2 tactical marines and had a drawn combat! They also ran into calgar and got taken out.
In the end there wasn't anything to do but drop in the last squad to take out the speeder that was going to my objective and we ended on a draw.
Game 5 - Pitch Battle, Annihilation
Grey Knight List
Inquisitor - Terminator Armour, Psi-Cannon, Thunder Hammer
5 Terminators - Psi Cannon, Halberds
10 Grey Knights - Thunder Hammer, 2 Psi-Cannon, Psi Bolts
Rino
10 Grey Knights - Thunder Hammer, 2 Psi-Cannon, Psi Bolts
Rino
5 Grey Knights - Psi Cannon
Razor Back - Twin Hevy Bolter, Psi-Bolts
5 Purifiers - 2 Psi Cannon, Halberds
Razor Back - Twin Hevy Bolter, Psi-Bolts
Dreadnought - 2 x Twin Auto Cannons, Psi-Bolts
Dreadnought - 2 x Twin Auto Cannons, Psi-Bolts
Probably my worst nightmare, I am dropping right into their perfect engagement range, lots of power weapons and warp quake.
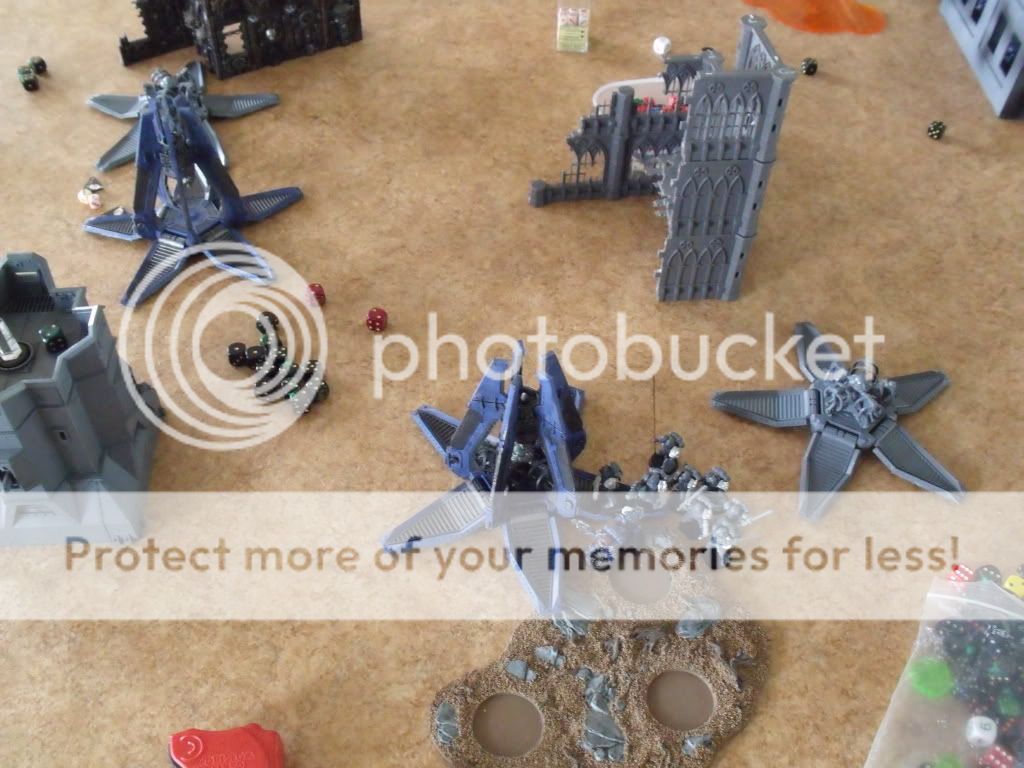
The Grey knights move forward and after ten minutes of talking about how warp quake would screw me up promptly forgot to do it. Well never one to pass up an opportunity I went for it, in they dropped and managed to take out a rino and a dreadnought.
The Grey knights shot back and charged in.
And not much was left
And it went down hill from there no reserves showed up on turn 3 so all I had was two drop pods to shoot, after that I just deep struck away from the knights as I didn't want to get tabled :p
So 2 wins, 2 draws and a loss not too bad considering I had only two games with the list before the tournament.
What did I learn, Firstly this list is a lot of fun to play with, it's so aggressive, Loving having so many units floating around. The two draws I think I should have just went all out on their objectives, I generally did best went I deploy everything close together to support each other.
Looking forward to getting the 1750 version up and running.