
I decided to do a quick and dirty guide to painting Germans. Part 1 will cover off the painting, part 2 the basing.
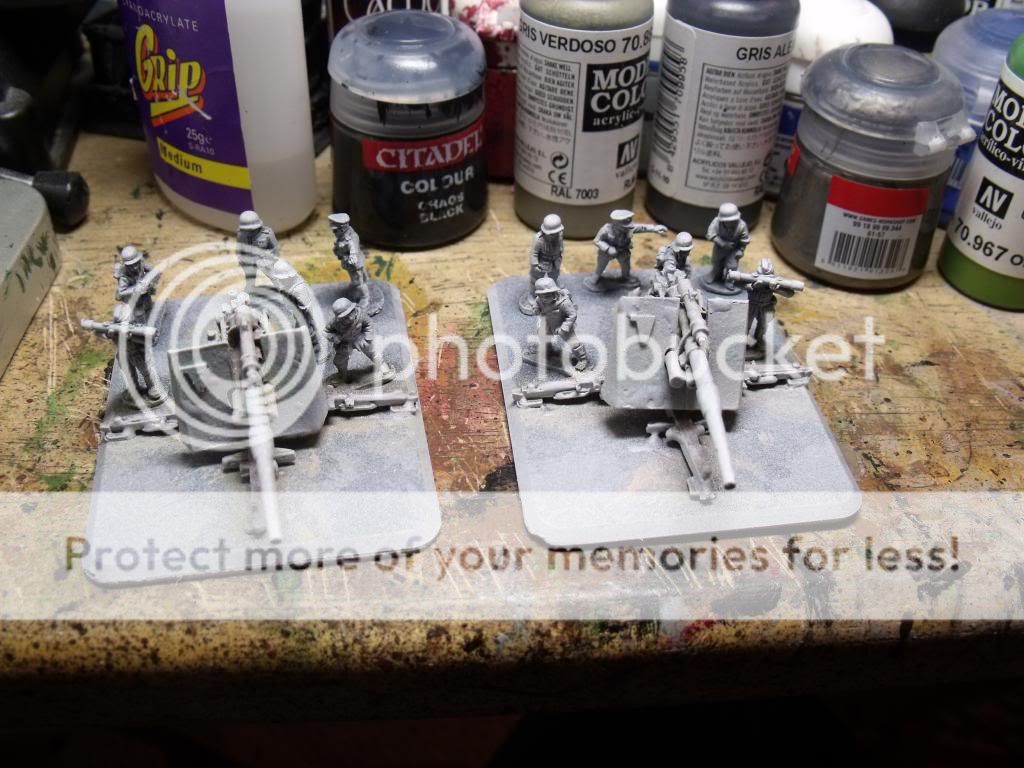
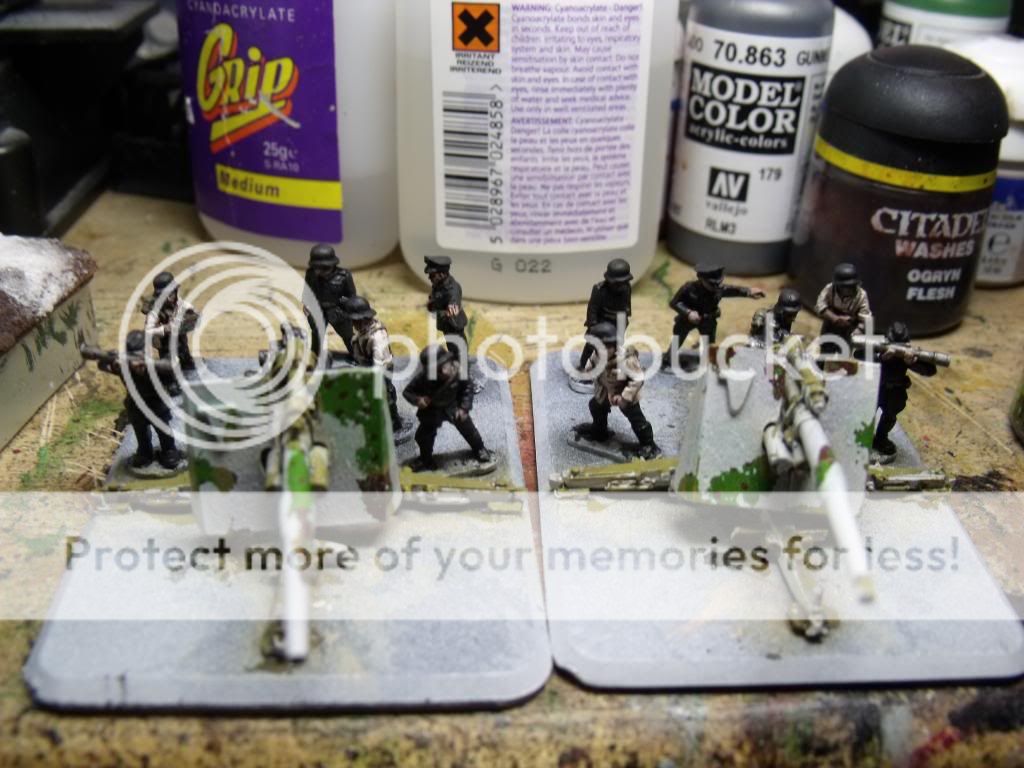
So here's what I am going to be painting up, some 88's already undercoated black. We will start with the guns, they are going to be done in pea dot cammo with a white wash.

So first up it's base colour time.
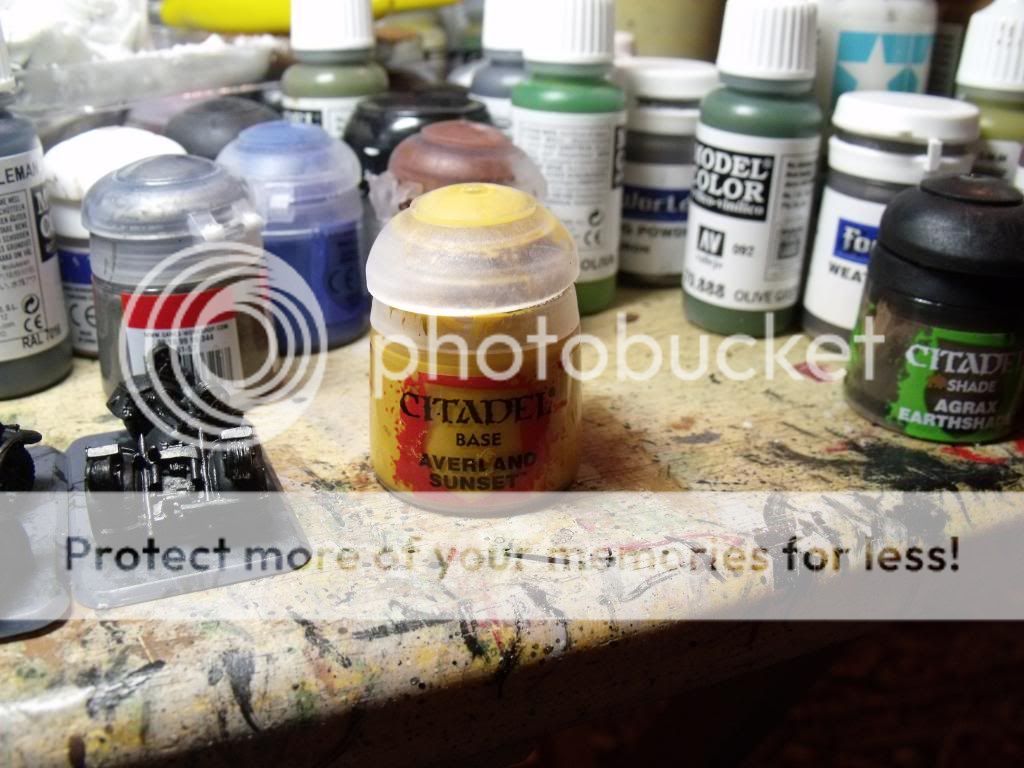
I am a big fan of he GW bases, they go on well and save a lot of time. Since we are putting yellow on it's going to take a few coats to get reasonable coverage.


Next up it's wash time.
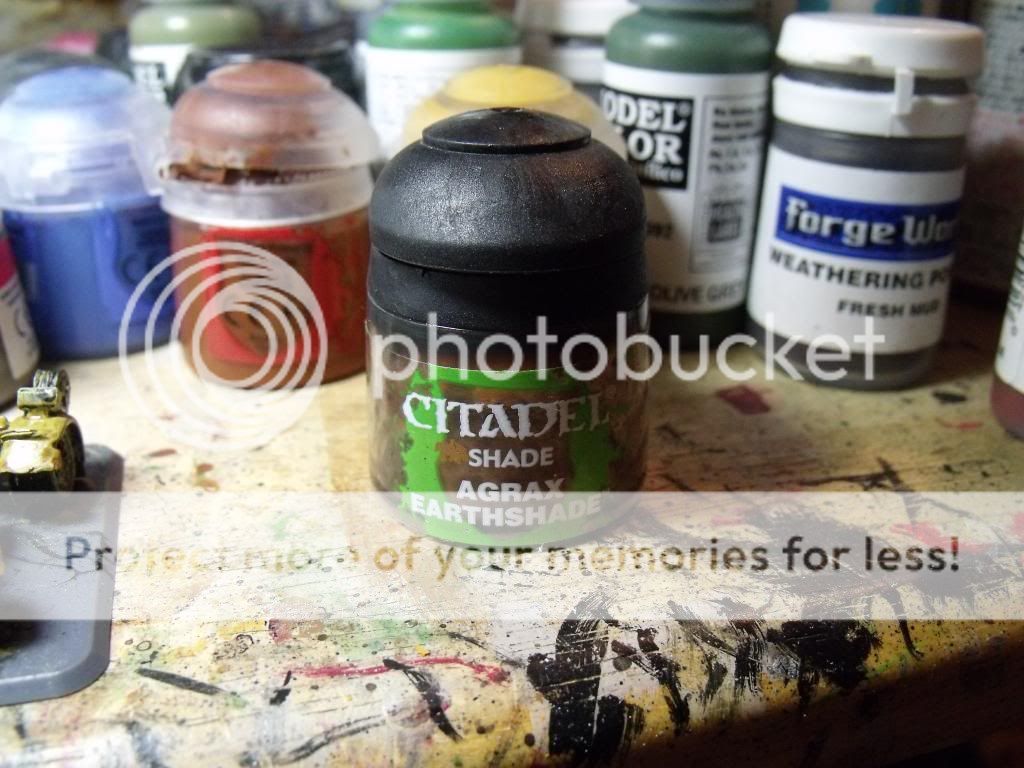
This is straight forward enough, drown the bugger :) Anywhere there is a join or somewhere their should be shade soak it with this, neatness not required.


This needs left till it's fully dry (normally I leave it over night)


Next up a dry brush of a few more layers of middlestone yellow.

Then it's on to the cammo.

For this I used Olive Green and Flat Brown, long as your not too fussed about getting historically accurate colours and appropriate green or brown will do. First we paint some green splodges (technical term), this will probably take a couple of layers as we want this bit pretty solid.


Next we do the same with the brown.

Next I should have a picture Showing the pea dot effect where you up green dots on the brown and brown ones on the green but I forgot to take it so we will have to jump to the next stage.

Yup Marmite time (stick with me on this). Take the Marmite and paint it on the model anywhere there would be wear and tear or you just want to show off some paint from under the white wash like so.
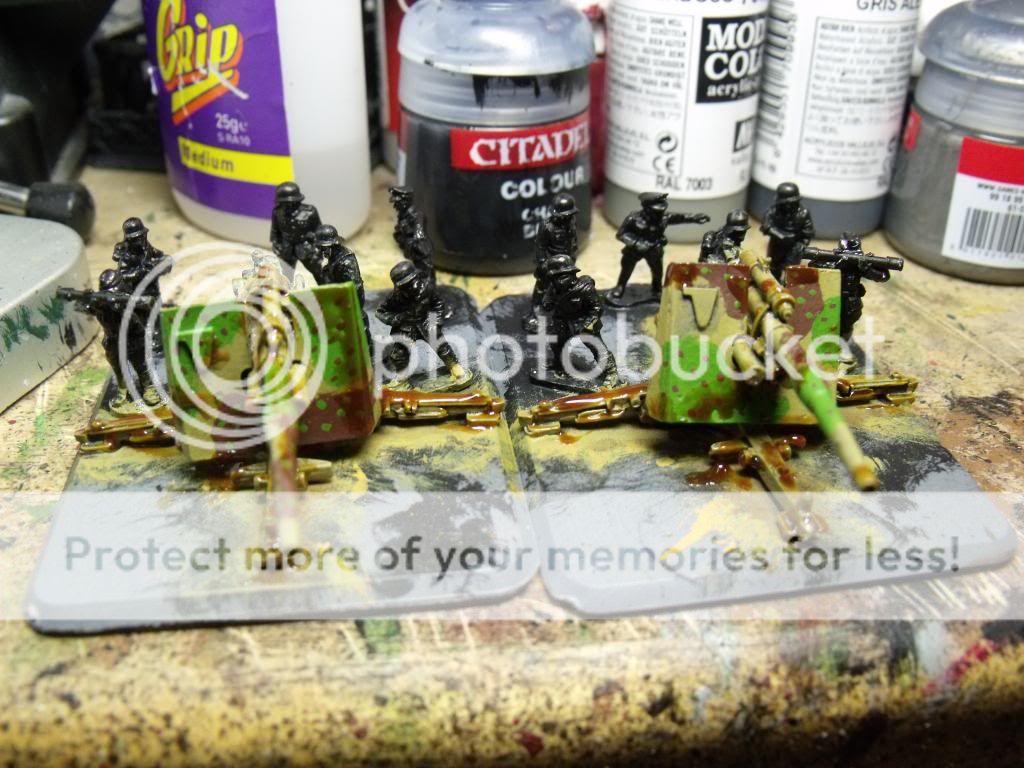
So far so straight forward (now you can see the pea dot effect was talking about). Next spray it white.
You don't want it covered solid. Ideally you want to be just able to see the layer of paint below. Then comes the clever bit, take an old tooth brush and gentle rub off the Marmite.


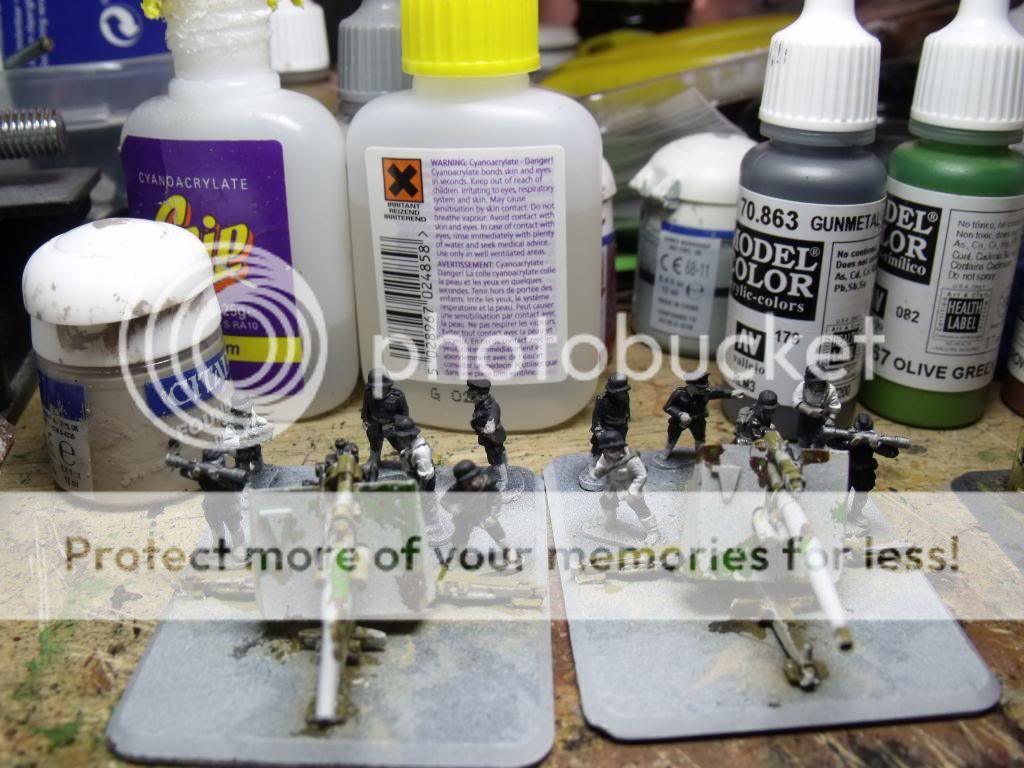
Then it's time to paint the crew. I made a slight mistake by gluing them on the base before doing the gun. After the spraying the paint is a tad thicker on them than I would like.
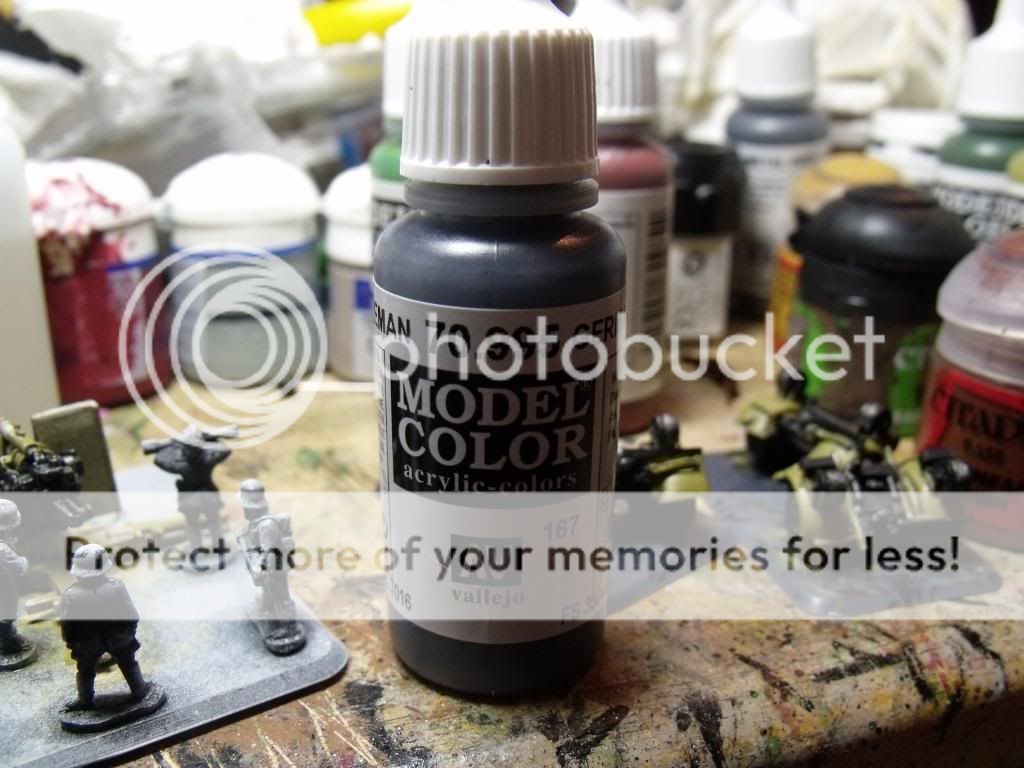

You should probably use a different Gray for the jackets, but I forgot to order it and just stuck with what I had. again depends how historically accurate your going for.


Next up some Gunmetal on shells and other appropriate bits.


For hands and faces I dip into my precious supply of Dheneb Stone but any off white cream style colour will do.

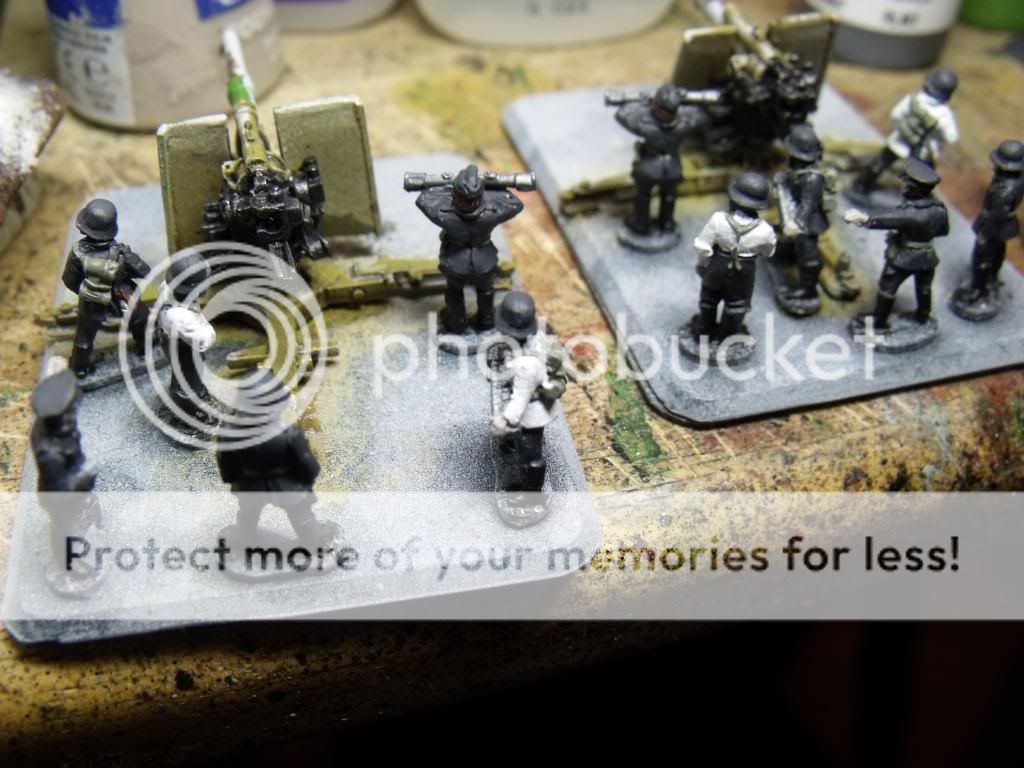
Next some good old fashion white for shirts and anyone in winter cammo.

Bit of German Grey on the helmets.

Black for the boots.

At this point I feel they are looking a bit too blocky since the trousers, jacket and hat are all the same grey so it's time to mix some paint.

I cut the German Grey with some white and paint the helmets with that colour.
Then it's on to some more washes, first I use the old GW Ogran Flesh on the hands and face as I love the skin effect it gives with the Dheneb Stone.


Then I break out the Agrax Earthshade and paint the rest of the model with it.
And there we go all painted, In part 2 doing the bases.